Updating Bootlogo and Bootanimation for Nokia 8110 4G
Before you continue reading: I will provide some details on creating bootlogos (which basically means the bootsplash) for the Nokia 8110 4G. This post will have mostly cover some technical details and is not a full "how-to" as it lacks a description of most of the required tools. I am using an AOSP tree to do all the stuff here that has been built for an generic architecture. I might create a stripped version of the tools and provide it as soon as I find some time doing so.

Bootlogos for Android devices
Most Android devices show some kind of bootsplash right after powering on. After some time they switch to a boot animation. Both are stored at different locations in different formats on the device.
The boot animation is some non-compressed zip-file that is stored at /system/media/bootanimation.zip and will be rendered after the device has booted the kernel and mounted the /system partition. The file basically contains some directories with numbered files and a file called desc.txt telling, which files shall be played when in what way. I will not cover this, as there are a low of guides on that around on the internet. Just note: The Nokia 8110 just uses the Android mechanisms to show the "NOKIA" logo during boot.
The bootsplash shown directly after turining the device on is a different story. It is stored in some low-level raw format that needs to fit some parameters of the LCD to be properly drawn.
16bit Colors
Codeaurora has some script to render those logos based on PNG or other image files. Unfortunately, the script creates 24bit color images that use one byte for each color value. The Nokia 8110 4G cannot render those, as the display requires a 16bit color space.
I have patched the script based on the original Codeaurora version. You can find the script working with the Nokia 8110 4G on github.
It basically converts the 8 bit color channels to 5 bit color values for red and blue and another 6 bit for the green channel. The resulting values are concatenated to a 16 bit color code that can be understood by the device.
Splash Partition
The device contains a splash partition. This holds the boot logo. The content of this partition is not signed and we can update it whenever we gained writeaccess to it. Luckily the recovery has such access, so it is possible to assembly a signed update.zip that updates the bootsplash.
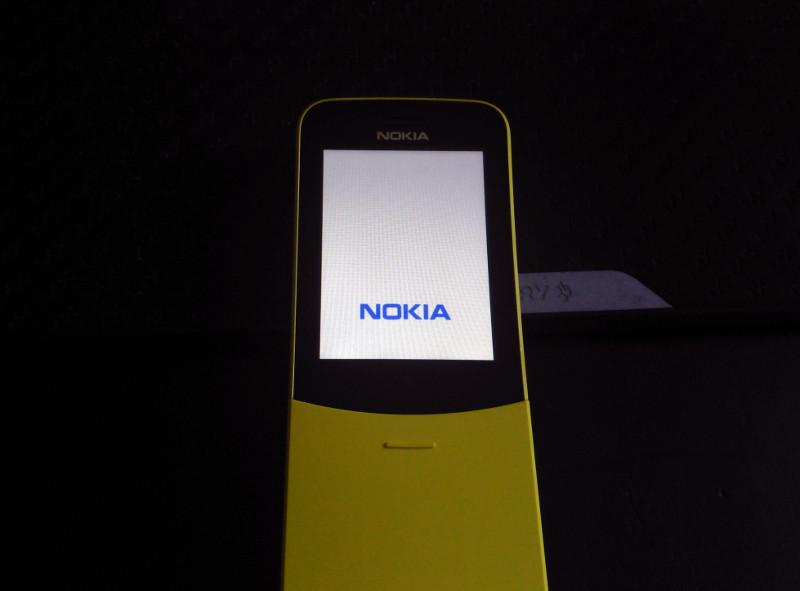
As a PoC, I have created an update package that writes some Nokia logo to the spash and some bootanimation to the system partition. I could not resist to use some of the well known Nokia powerup animations for this. You can see the result here:
You can also download the update.zip here, if you want to understand, how it actually works. Note: The provided update.zip is properly signed. I would not recommend to install it on a productive device as you most likely will lose update capabilities. If you use the update.zip on your device, note that you do it on your own risk and that I will not accept any responsibility for broken hardware.
Dumping the Nokia 8110 4G Firmware
While considered dead by some people Nokia recently started releasing remakes of successful phones from the 90s based on modern hardware that have battery lifetimes that seem insane at a time, where smartphones need to be charged once a day. The latest device is the Nokia 8110 4G.
A lot of people around me started buying the phone, as it supports 4G, can be used as a wifi hotspot and as it has such a great battery performance. Most of them are hoping that it will be possible to modify the firmware as well. The device has been built as a feature-phone but it is actually run on KaiOS which is based on linux, so it is theoretically possible to extend the phone by own functionality.
So I basically decided to buy my own device to get my hands on it and try to find a way to get own software onto it. It turned out to be amazingly easy as firmware images are just signed with the AOSP default keys which can be obtained by cloning the AOSP repositories.

AOSP - Android Open Source Project
Wait? AOSP? I thought the device is run by an OS called KaiOS. If you take a look at the Gonk layer of the KaiOS Architecture, you will recognize that there is indeed a lot of Android build into it. This is actually no surprize as the SoCs manufacturer qualcomm basically provides Android systems for their devices via Codeaurora.
Using some of the Android functionalities saves a lot of money, as KaiOS can just reuse existing hardware bindings and just wrap those.
I do not know, how exactly KaiOS is compiled but I would also guess that it is build from a AOSP alike sourcetree, as Google basically provides a somewhat messy but quite funciton build environment that does a lot of things like packing and signing images on its own and I would say that it does it quite well, if you know what you are doing and are reading the documentation.
Boot Modes
Most android devices can be booted into different modes. I have been able to boot the device into QDL and recovery mode. This are the keystrokes you need to press and hold when powering up to boot the device to both modes:
- QDL: press and hold all direction buttons (just press the frame at two points) and power the device on.
- recovery: press and hold _up_and_hangup_ and then power the device on.
QDL mode
If you enter this mode, the display just flashes with the KaiOS logo and then turns black. If you use lsusb, you will see a line like this
Bus 001 Device 002: ID 05c6:9008 Qualcomm, Inc. Gobi Wireless Modem (QDL mode)
The device will now respond to the Sahara protocol. This mode for example allows dumping device fuses. This includes the SHA256 hash of the root key used for signing the qualcomm binaries, which happens to be
1357fdaeabb7becbe49095f000d9d3dadf198885106d98598cac6d1b9b2edb3a
in reverted byteorder.
This mode normally also allows to load the eMMC emergency downloader (firehose) to the device. I have been able to send a firehose downloader for some msm8909 based device to the phone and it at least acceppted the elf-header but the execution of the loader finally failed. I have not checked at which phase it fails, but as the root-key will not match the one fused into the device, I doubt that it will be possible to run some downloader if there is no leak of a properly signed binary.
Recovery mode
The device just uses the AOSP recovery. The source for that can be found in the AOSP recovery repository. It is likely that the running variant has been modified in some ways, but the original recovery is always a good reference, if you are messing with it.
Whatever you do: Do not write to the recovery partition. If you destroy this, you would brick your device. As all bootable images, the recovery image is signed. I have not yet looked at the signatures, but it is likely that you are not able to sign your own and thus you will break your device as soon as you modify it.
The recovery mode basically allows loading a signed update.zip from sdcard or via adb sideload. It also provides access to bootlogs that reveal interesting information.
The KaiOS used seems to have been built based on Android 6.0.1 and is running on a Kernel version 3.10 (which I would guess is the version provided by Codeaurora for the SoC).
The recovery always accepts update files that are properly signed with normally the releasekey of the device. Files are signed using signapk, so the same mechanism that Android packages are signed with.
When the signature of an update can be properly verified, the updater unpacks an application located at META-INF/com/google/android/update-binary from the update package and executes it. This application can than modify the image.
Android Boot
On Qualcomm devices, there are a lot of things happing during the boot process. I simplify this a lot. Most of the stuff happening can be obtained by Qualcomm under an NDA or you just search the web for the leaked documentation.
So the basic process is something like this
- Some boot-ROM is loaded and executed. If there is no need to jump to Sahara, the device will continue loading a lot of firmware images like the SBL1, NON-HLOS, TZ and the aboot. All those images are signed with keys that lead back to the root signing key. If any of the signature does not match, the boot process will be stopped and the device will not boot.
- At some point, the aboot is executed. This loads the boot or recovery kernel and checks it signature against a key compiled into it. As aboot is signed, it cannot be modified, so it is not possible to change the kernel keys.
- The boot or recovery kernel will then start loading the device and boot Android or in the case of the Nokia 8110 4G it just boots KaiOS.
The Android kernel contains a initial ramdisk containing the bootscripts. If this will mount the /system partition which contains most of the applications and services. This partition can be signed using Verity to have a completely signed bootchain. If this is the case, any modification on the /system partition will stop the device from accessing the modified blocks (and probably boot). Luckily the Nokia 8110 4G does not use Verity.
Access Vectors
If the signing environment has been set up properly, it is quite hard to get into the device and modify software or firmware. The problem is that breaking signatures means that the device will not boot anymore.
Updating the Kernel
I have not yet checked the signatures of the boot and recovery partition. If there are no design flaws and the signatures are checked (there are some build modes, where aboot does not check signatures), it might be impossible to modify the kernel without the signing keys. This is worth being checked.
Recovery Keys
After playing with QDL a while, I started poking the recovery. It turned out that they just reused the test signing keys available form the AOSP tree. This is basically a common mistake and I have seen that several times. The problem is that the AOSP tree just builds fine and does not warn you about that at all. It turned out that someone seems to have already found this issue some days before I started looking at the device and used it enabling adb. Before you just jump and do the same thing he did, please not that you might lose update capabilities for your device when applying this change.
The normal process would be building the system with the test-keys and then you use sign_target_files_apks to resign the system with your own releasekeys. Anyway: let's assume that the manufacturer has done this intentionally to allow us, to modify the phone.
This actually means that we can create our own updates and modify everything on the /system partition. This actually causes one problem: We do not know, what type of update process Nokia is using. If this is block based OTA, any change on the /system partition will break OTA in the future. So it is always a good idea to create a backup before changing anything.
Dumping the Firmware
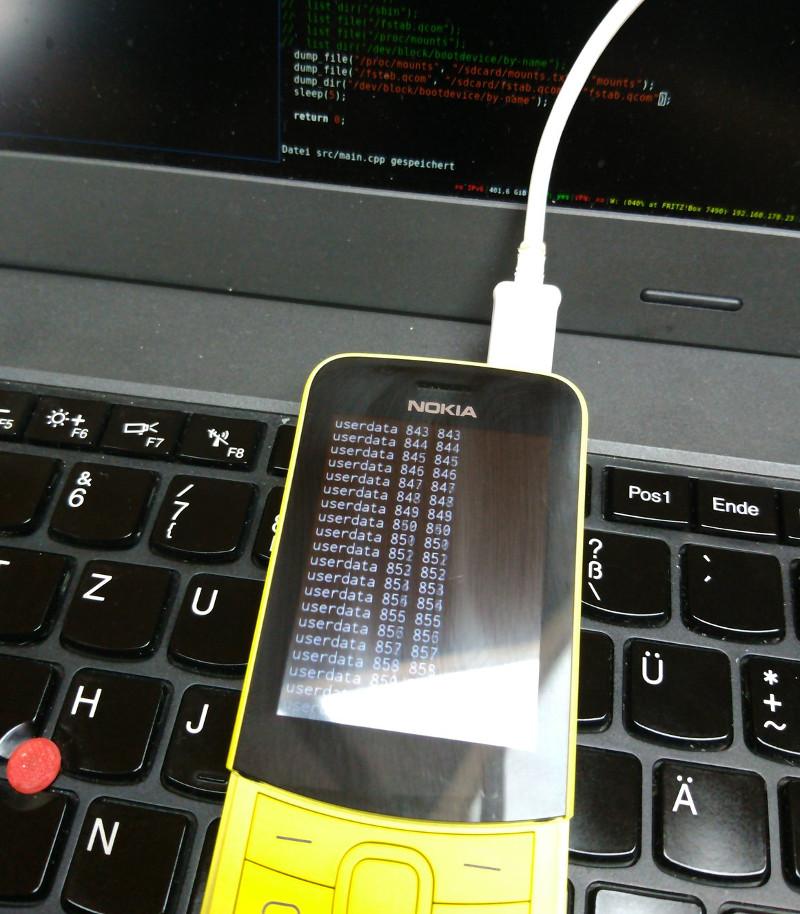
I have made a simple application to dump the firmware of my Nokia 8110 4G. It is written in poor C and has some flaws and maybe should not be used if you fear to lose your device, but it worked at least on my device. You can find it on github, if you like to use or modify it.
I compile it from within an Android 6.0.1 tree (as I happen to have one on my harddisk anyways), but it should be possible to build it using ndk-build as well. The commands I used to pack and build the update.zip are:
. build/envsetup.sh
lunch 1
make -j8 dump8110
mkdir update
cp out/target/product/generic/system/bin/dump8110 update/META-INF/com/google/android/update-binary
(cd update ; zip -r9 ../update-unsigned.zip META-INF)
java -Xmx2048m -Djava.library.path="out/host/linux-x86/lib64" \
     -jar out/host/linux-x86/framework/signapk.jar \
     -w build/target/product/security/testkey.x509.pem \
     build/target/product/security/testkey.pk8 \
     update-unsigned.zip update.zip
If you do not have a AOSP build laying around, you might want to obtain a version of signapk that works on your system. Maybe I might also upload the required tools at some point if I find the time to do this.
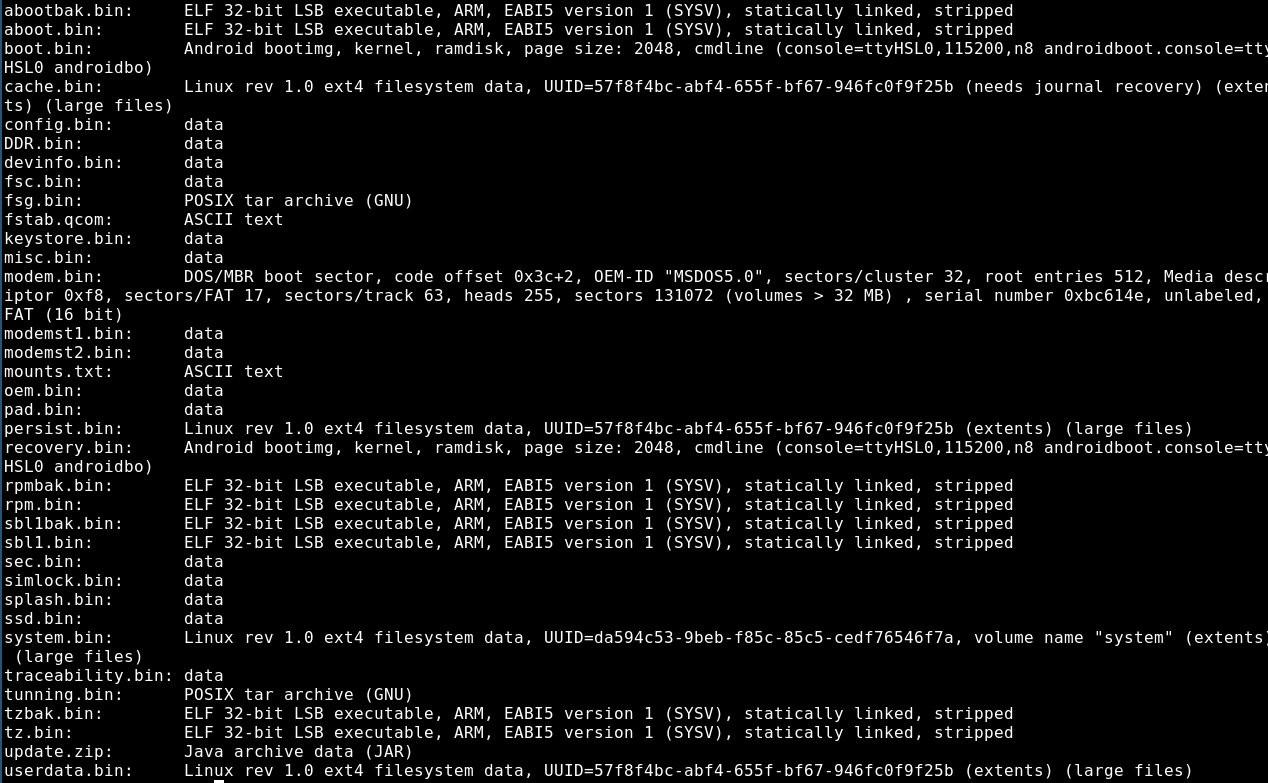
There is also a prebuilt update.zip in the github repository. The update basically executes the included application which then iterates over all partitions on the flash and writes their content to an sdcard inserted to the phone. To execute it, you can sideload it via adb sideload or just copy it to a vfat formated sdcard.

The most interesting files are the boot.bin, recovery.bin and system.bin, as they contain the actual system and would allow us to modify the system. The system.bin can be mounted as ext4 filesystem.
Conclusion
Having a way to modify the firmware shifts this device from nice to awesome. It might be worth digging into the system and try to find new ways to make it even better. I hope that Nokia does not decide to close this by updating the certificates the device as this actually makes the device worth the money.
So if you guys at Nokia might read this, it would be great if you either leave this open or provide a way for OEM unlocking as other manufacturers do. It makes it worth to totally get your hands on this device, as it makes it possible to hack the device matching your own needs.